SUPPLIES
- about 6 boiled eggs
- indigo dye (or dark blue food coloring)
- rubber bands
- sticker (i also used loose leaf hole fixers)
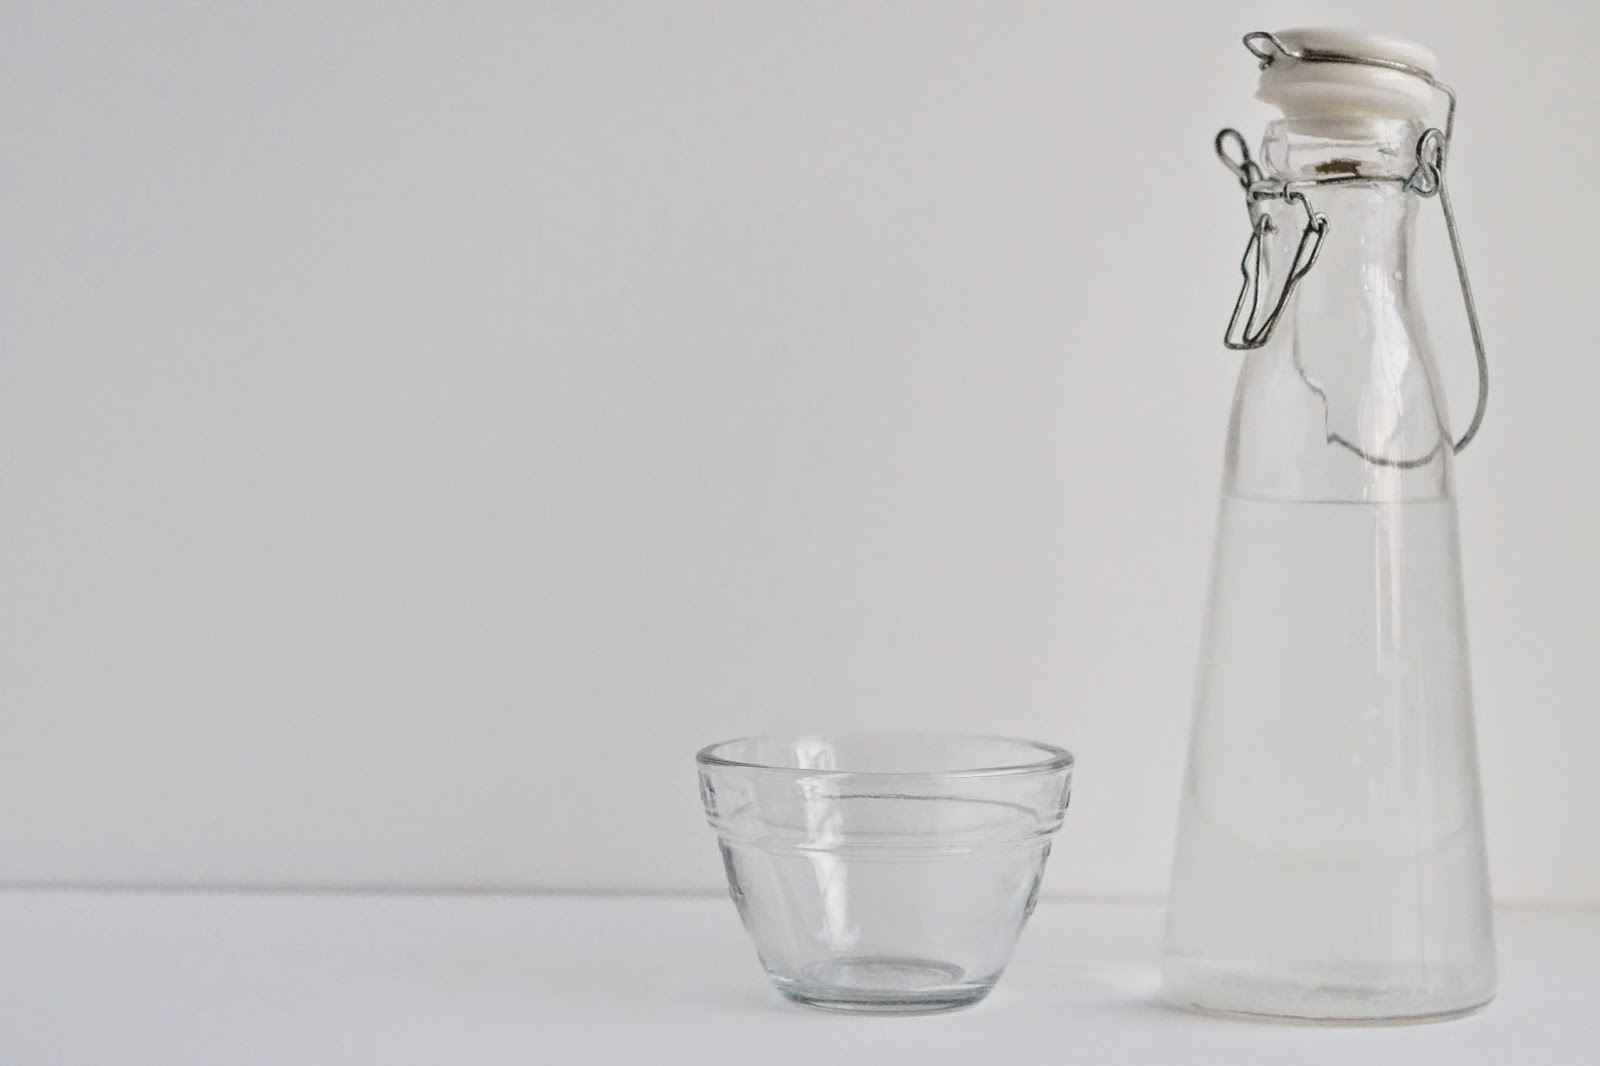
- small dish (or 2)
- water
step one: after hard-boiling your eggs, fill one of the dishes about 3/4 of the way, and add the dye. let sit.
step two: while your dye and water mixture sits, take your rubber bands and wrap around the eggs. i found that it helps to vary the size of the rubber bands for different looks.
step three: place the egg into the dye and let it soak in all the indigo goodness for 5 minutes. (or longer for a deeper color)
i ended up adding a metal tray to the mix to catch the drips and splashes. you can also use a cookie sheet to protect the surfaces you're working on. it's also good to have paper towels and rags that can get stained on hand to clean up any messes.
step four: after the egg has been dyed, soak up the extra dye with a paper towel, and remove the rubber bands. repeat steps 1-4 using stickers this time!
i was really happy with how all the eggs turned out ( though they definitely could've been darker ) and put all the eggs back into their original carton to display! it's almost too easy, people... almost. -m


No comments:
Post a Comment